
Do you want to change your teddy bear into a bunny rabbit?
With this Free pattern add-on to the MakeTeddy sewing pattern and these instructions you can make this super super cute Bunny.
Download FREE BunnyEars PDF add-on sewing pattern: Get Pattern Sheet
You will also need the MakeTeddy Sewing Pattern:
- PDF – Make Teddy Pattern: Buy Now
-OR-
- Paper – Make Teddy Pattern: Buy Now
Follow the instructions in the MakeTeddy sewing pattern upto and including Step 35, then move onto Bunny Ears Step 1 below:
Step 1.
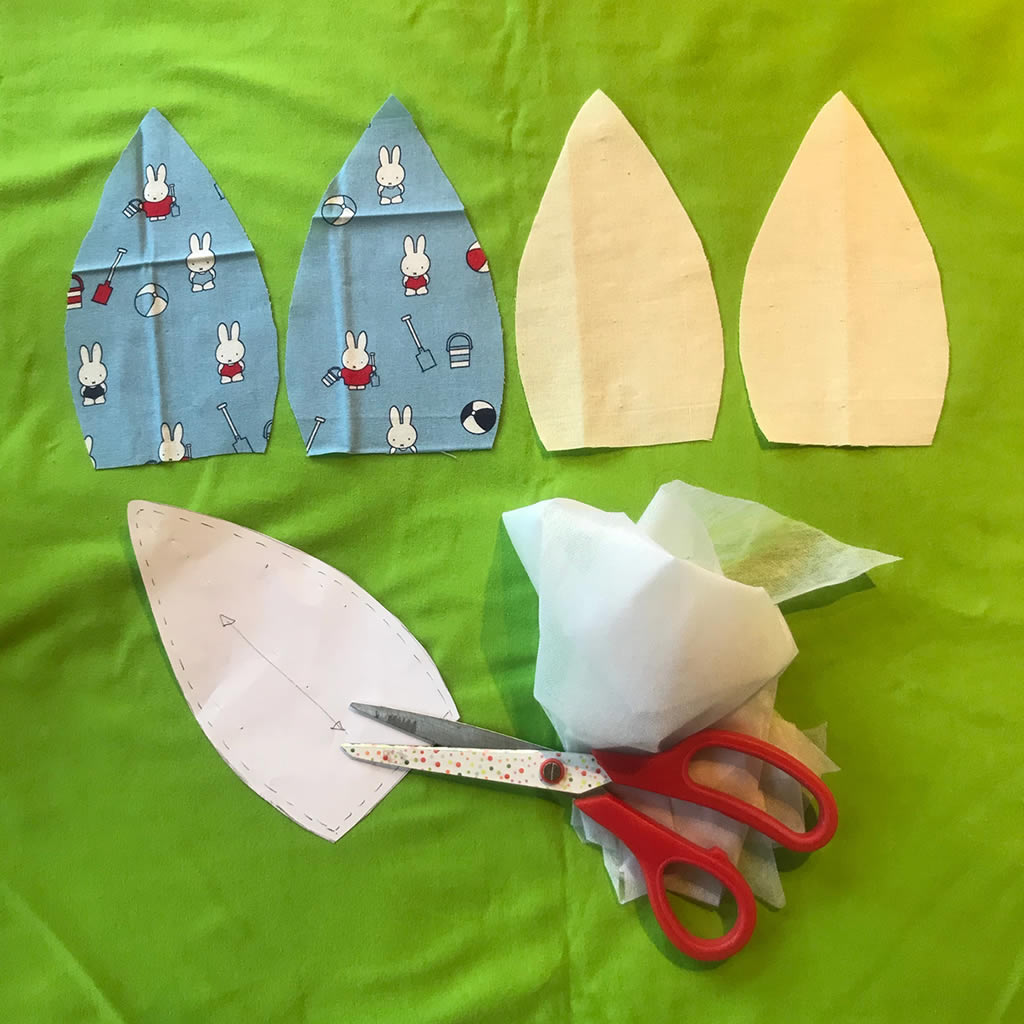
Print your Bunny Ears pattern sheet – make sure your print size is 100% and measure the scale box on your print out just to be sure.
Cut out 2 Inside Bunny Ears and 2 Back Bunny Ears, the back ears are the same fabric as the rest of your bunny and I have used the same fabric as my paws for the inside of the ears.
Use a medium weight iron-on interfacing on all 4 pieces to make the ears a little stiffer and help them stand up a bit.
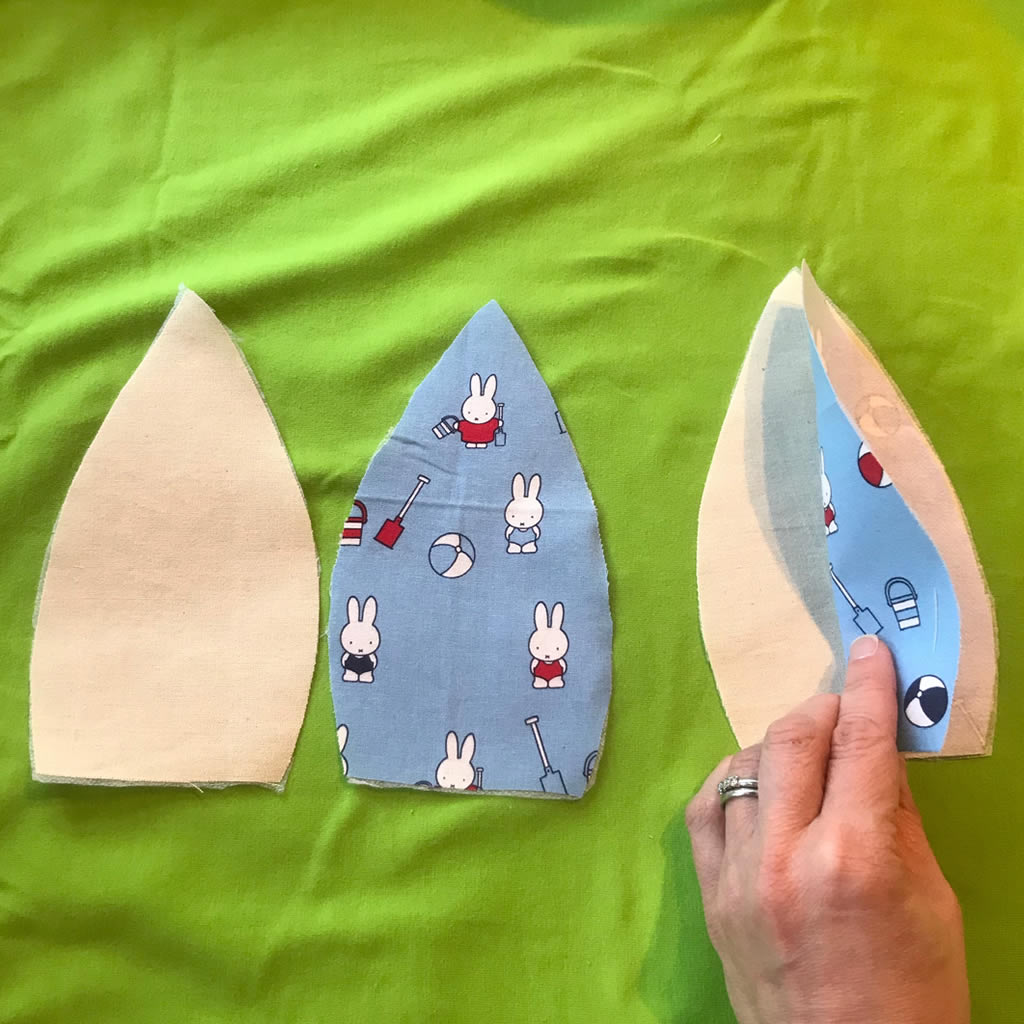
Step 2.
Place the Back and Inside Bunny Ear pieces right sides together and stitch along the 2 curved sides, using a 0.5cm seam allowance, leaving the flat bottom of the ear open for turning.

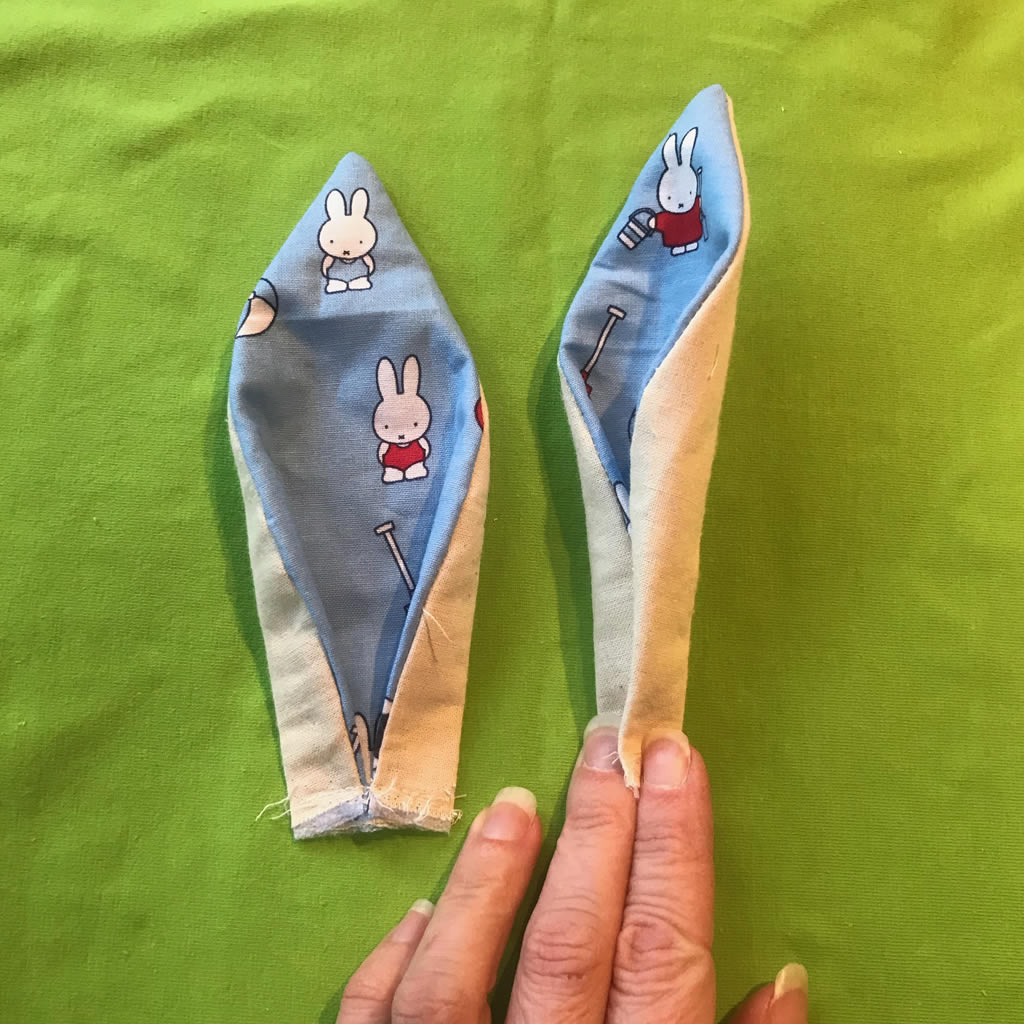
Step 3.
Clip the curved edges that you have sewn so that when you turn the ear to be right side facing out all of those curves will be nice and smooth.
Turn the Bunny Ears so that the right side of the fabric is facing out.
At the bottom fold both outside edges into the middle and sew across in order to secure, sew within the 0.5cm seam allowance.
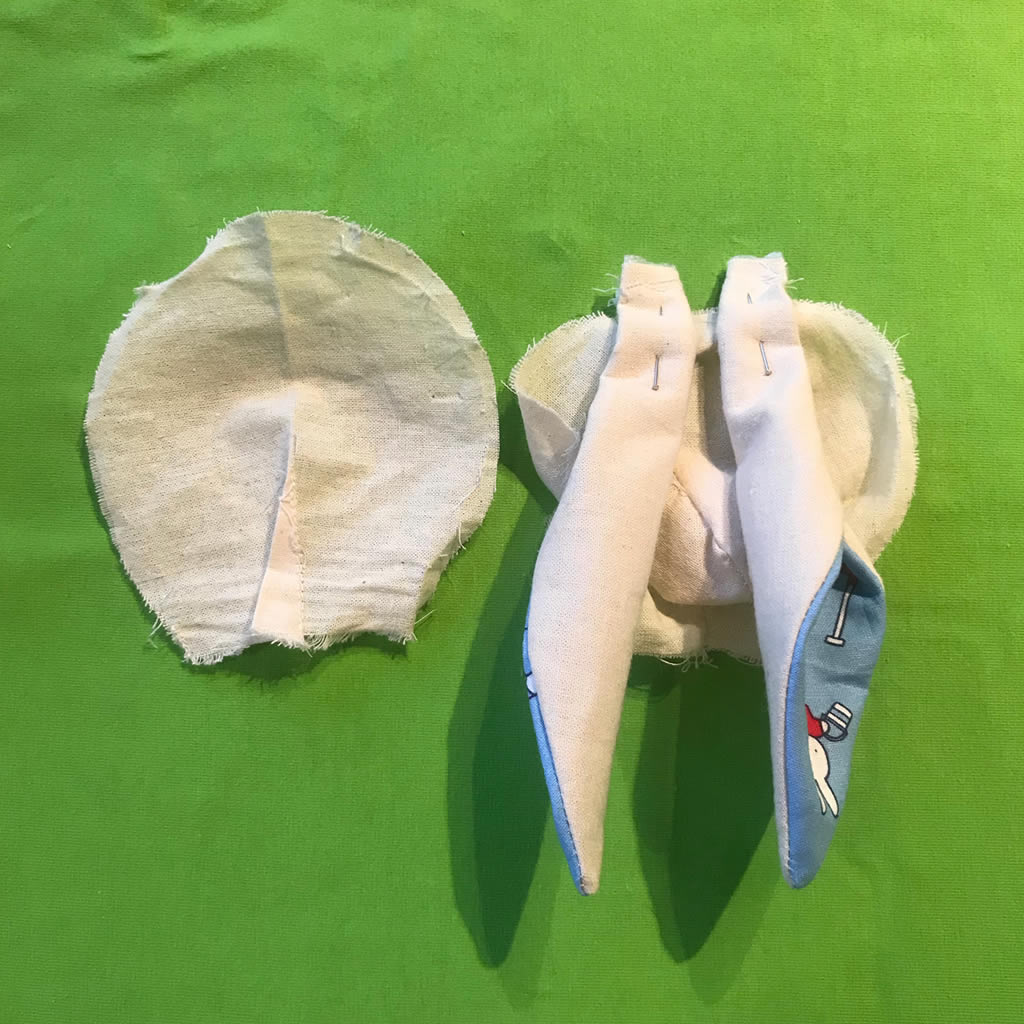
Step 4.
Now fold the ear in half and sew again across the bottom, within the 0.5cm seam allowance in order to secure.
Step 5.
Referring to Step 36 in the MakeTeddy instruction book we will attach the Bunny Ears in the same way, with a couple of key differences:
The Bunny Ear is attached onto the centre Nose piece in the centre of the head, rather than the side of the head which is where we attach the teddy’s ears. Align the open edges of the ears with the inside edges of the Nose seams, so that they will sit nearer to the top of the animals head.
The Inside of the ears, the open edges, face away from the centre of the head.
Attach the ears to the right side of the animals face and leave approx. 1cm hanging over the edge, these ’sticky-out-bits’ will be buried inside the head when you are finished and will help the ears standup.

Step 6.
Put the back of the head onto the front of the head following Step 37 and 38 from the MakeTeddy sewing pattern.
Sew around trapping the ears in your seam, go slowly there are a lot of layers of fabric in those ears!
Make sure you leave the neck open for turning and be careful not to trap the ears in your seams!
Turn the head right side out and pick up the rest of the instructions in the MakeTeddy sewing pattern from Step 39
Final Note:
When sculpting the face (Step 43-45 in the MakeTeddy instructions), I positioned the eyes more on the sides of the head and pulled the sculpting threads towards each other rather than towards the back of the head, this makes the whole face a bit thinner and more rabbity, I also embroidered a more rabbity nose and mouth. But whatever features you choose will give your Bunny its own personality.
We hope you enjoy this pattern hack, if you make your own bunny, please let us know we would love to see what you make – #BunnyEars #MakeTeddy #teddyandme

